How do you capture student learning? This question can go in lots of directions. We know that students can snap a picture of their work. And we know that kids can capture their learning by recording their voice or typing a response. To capture student learning, you can give kids a way to create a product that shows what they know.
In this blog post, I want to share with you three quick ways to capture student learning using the Adobe Spark tools. Regular readers of the blog know I’m a big fan of the free Adobe Spark creation tools. I’ve worked with their team and wrote a book full of activity ideas with Ben Forta. The book is titled, 40 Ways to Inject Creativity into Your Classroom with Adobe Spark. It includes lots of ways for kids to show what they know.
Spark for Education
If you haven’t heard of Adobe Spark before, it’s an open-ended creation tool kids can access on an iPad, iPhone, Chromebook, or a laptop with a web browser. They can get started by heading to this website to sign in, or opening up the corresponding iOS app. Setting up Spark for Education is free, and gives your kids access to extra features like the branding tools, as well as COPPA and GDPR compliance. You can learn more about these features on this special Spark for Education page.
Let’s dive into these three ways kids can show what they know. I’ll give some subject area examples below, but I hope you’ll get creative as you think about how movie-making, website building, and graphic design give students a way to apply what they have learned and create a product.
Don’t forget to download these FREE planning pages to use with Adobe Spark.
Capture Student Learning
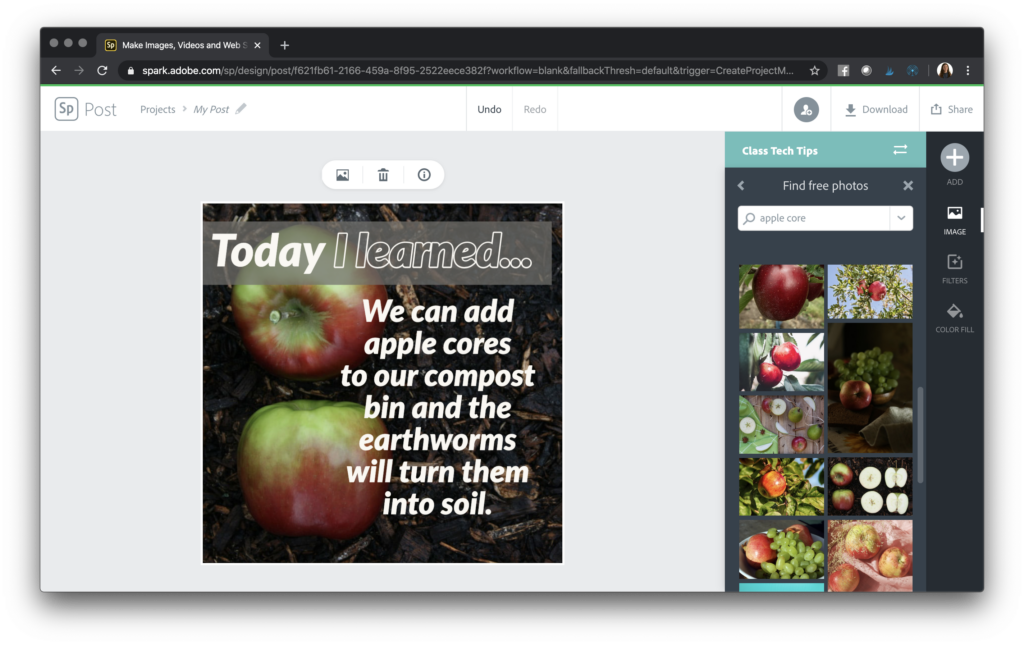
One quick way to capture student learning is to have kids choose one moment from a lesson to share. This “moment” could include a big takeaway, a lingering question, or an “aha moment” they had. Spark Post is a graphic design tool that lets kids layer text on top of one or a few different images. Students can take their one moment and add text on top of a picture that connects to this big idea.
Although you can definitely use the Spark Post app with your students, below is a screenshot from Adobe Spark’s website on the Chrome browser of my MacBook. In this example, you can see how students can add a short piece of text on top of a picture. This quick way to capture their learning has kids creating a product and letting you know what they learned at the same time.
You might decide to have students post their graphics in a space like Google Classroom, Padlet, or Seesaw. These products that capture student learning, could also be shared on a school or class social media account like Instagram or Twitter.
Recording a Quick Video
Although you can absolutely use Spark Video as part of a culminating project where kids have spent a lot of time learning about one topic, it’s also an excellent tool for a quick activity. Have students open up Spark Video and add a title slide. Then they can combine three or four more slides with a big idea or a fun fact they want to share.
For example, imagine students in a science classroom have spent time learning about different rock types. They might open up Spark Video and create a short video that has one slide for each different type of rock.
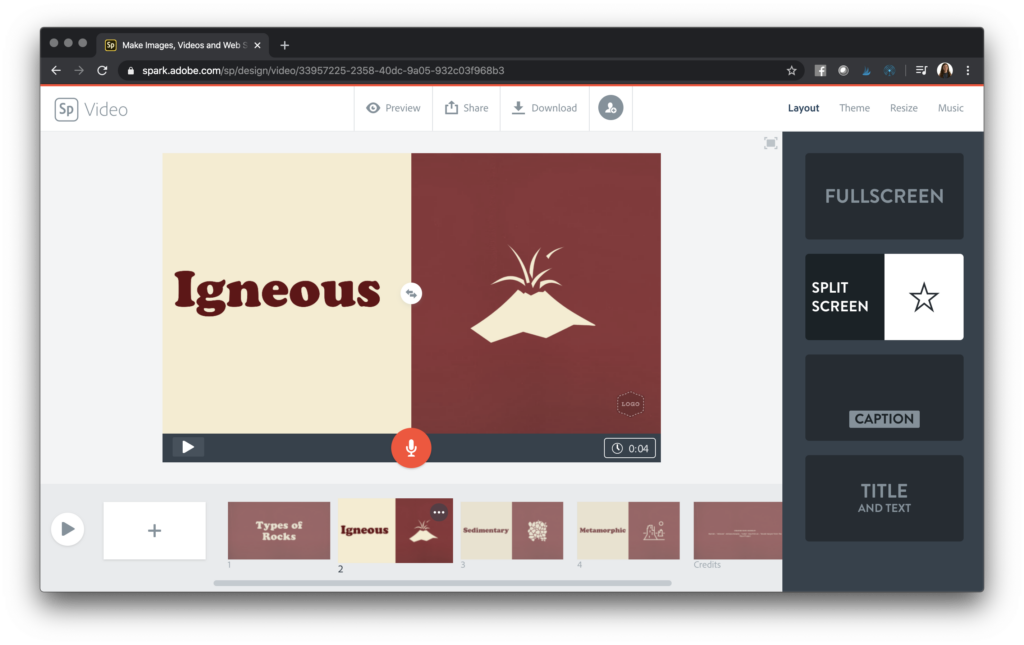
Students could search for an image that goes along with igneous, metamorphic, and sedimentary rocks. Or they could add an icon that goes along with each one. Then they can record their voice sharing what they learned about each rock type.
A movie-making project in your classroom doesn’t have to be a long-term activity. Instead students can combine just a few slides together, record their voice, and quickly capture and share their learning.
For more ideas with using Spark Video in your classroom, check out these blog posts and my free graphic organizers for students.
- FREE planning pages to use with Adobe Spark
- How To Share Spark Videos on YouTube
- Goal Setting Activity for Students featuring Spark Video
- Spark Video Activities for Google Classroom
Updating a Journal
The website creation tool Spark Page is a great, simple vehicle for having students publish a website online. For a quick way to capture student learning, students can create one Spark Page at the beginning of a unit, month, or semester. Then every day or once a week, they can open up Spark Page and add a paragraph or upload a few photos. This type of journal entry is a perfect way for kids to quickly capture and share their learning.
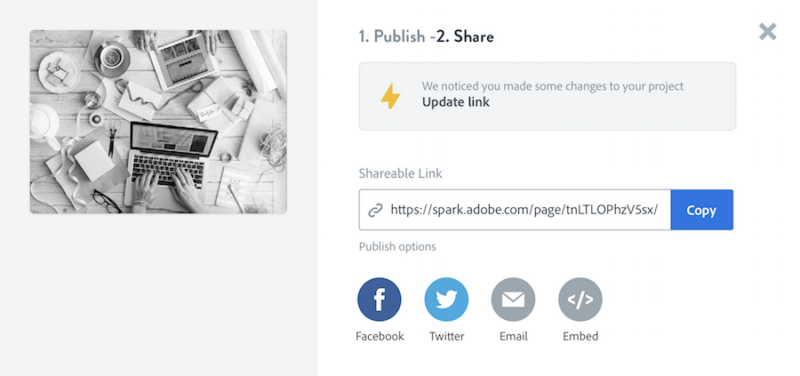
If you haven’t used Spark Page before, it’s perfect for posting regular updates all to one spot. After student add to their online journal space, all they have to do is hit the publish button. Pressing this button will update the link so that the next time it’s clicked on all of the new content will pop up. This type of workflow is a great option if you want students to quickly capture and share their learning and have a link for other folks to check it out.
How do you quickly capture student learning? From graphics to quick movies, to updating a journal, there are so many options! If you have a favorite strategy, share it in the comments below. And don’t forget to check out the Spark for Education landing page, and my free graphic organizers for using Spark Video in your classroom!
